Thursday, March 14, 2013

Dragon Mascot Project pt2: Buckram

Well, I didn't get the mascot done in time for opening weekend, but I learned something:  buckram takes a while to dry.

Now all you hatters out there are probably laughing at me, but you have to understand, when I say a while, I mean, because of the nature of the 3d frame, number of pieces and overlap, a day for each step.  If I had known this I'd have planned my work flow better.  As it was, I started adding buckram bits Monday before opening.  Uh huh. 

So yes, procrastinating artist person learns the hard way it's going to take more time.  But at least it goes smoothly.  These are the steps I used:

1: stare at dragon frame part to be covered and imagine the most efficient shape to deform..square, triangle, strip, etc.
2: Guestimate the size needed and cut it out from the roll of buckram.  I bought a yard, in a 60" wide bolt, turned out to be more than enough.  
3: soak piece in a large bowl of water nearby.  I worked in a  garage, where I was free to squeeze  water directly on the floor/ground.  Soak at least a minute or two but no longer than 5 or you risk most of the starch washing out.
4:Take piece out of water and gently squeeze out excess.
5: This might be optional for some people, but I liked to gently pull and deform the buckram before draping. It seemed to get the starch working better.
6: Drap buckram over designated area, tucking around edged of frame where you can.  Use gravity to your advantage.  I needed to do the lower jaw setting the frame temporarily upside down or I would have had a dragon pelican.  Some place might need sewing straight pins to tack edges until the buckram is mostly dry.  Gently press down where pieces over lap.
7: Leave it to dry; with practice you'll know how many multiple wet pieces you can get away with at a time.  
8: 15 minutes to a half hour later depending on temp and humidity, check edges to see if they're pulling or popping up.  I think tension in the fabric can do this.  Luckily by now the starch is tackier and stronger.  Just gently press the buckram back in place and it should stick. 
9: when the buckram is half dry, remove pins used.
10: 12 to 24 hours later(often over night), the buckram is dry or mostly dry, and the next peices are ready to be added.


half finished


finished: took about 5-6 days


Next: finish 3d canvas with gesso primer.


Monday, March 4, 2013

Opening Weekend 2013

Great space and expect it to be a great season.  Thanks for everyone who showed up!

Booth:


New Incense Burners:  I've added a bit of a base to the top piece, for a better aesthetic:

bone/white $25; glazed $28; gryphons $28

Mountains dragon lairs are new:
lairs $18


Lamps:

Dragons: new process.  I'm casting the glass eyes now.  It's interesting and creatives, etc, etc, but I don't have a choice; all suppliers of glass "gems", blobs, whatever you want to call them have stopped.  Cold.  As of sometime last year.  My supplier is literally down to the ast dregs and I realized if I didn't find a production solution I was screwed for dragon eyes.   So I set about learning to cast glass frit.  Look for a blog soonish. 

Dragon Lamps vary: $48 +; green lamp shown $58


Spirit Trees: new process, I'm testing casting and fusing glass on the piece.  So far I like the effect, but must be careful with mixing glass of different coefficients.  The small cast pieces will crack if they're fused to the glaze of the tree.  So for those scarp glass pieces I'll need to stick with epoxy to attach them to the trees.
Spirit Trees: lg $48    sm $38


Candle burners: Leaf Lights new

Leaf Lights$40-$48


I'm very pleased with this effect, thought I clearly need to master photographing it!

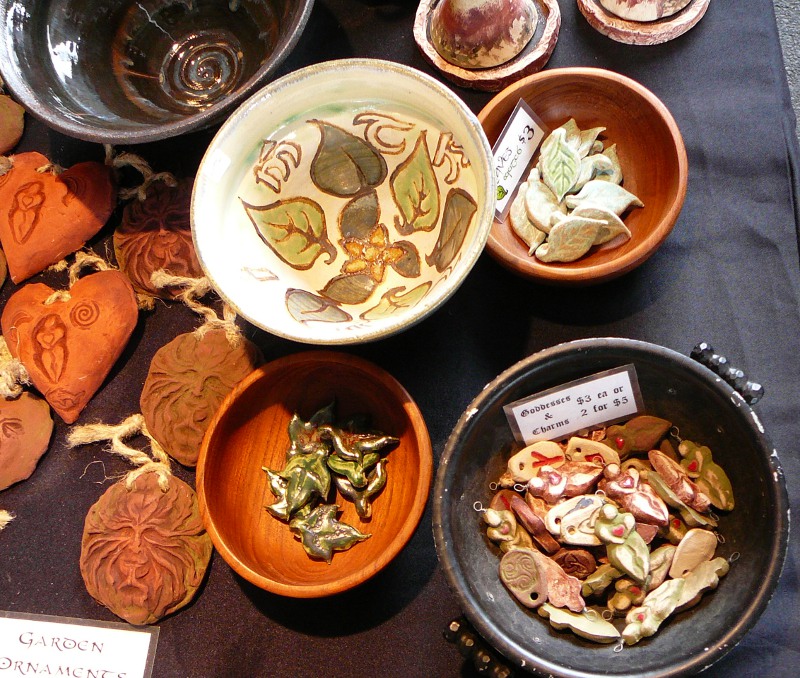
Elven Vases, bowls, leaves:  These pieces were made by a member of Mud Spinner's Pottery, who sold at the Market in the late 90s.  We shared a group studio and often bisque pieces were thrown out that the artist just didn't like.  Or had some other tiny flaw.  I've kept them for years, with the idea of decorating them in some inspired way.  After watching the recent Hobbit film, by Lord of the Rings geekdom resurfaced and I decided to decorate them in tengwar , Tolkien's elven script.  
vase $58


The vase has the first part of an elven hymn to Varda, their goddess of the stars.  The small bowl with leaves is a Lothlorien theme, with mallorn leaves, nuts and flowers.  The yellow glaze fired darker than it should have, but apart from that I'm pleased.  The vase if 100% functional, but because of the decorative techniques(mix of glaze and oxide on a high fire body only fired to midrange) I can't recommend the bowls for food safe functionality(mixing batter, cereal,etc).  Used as a fruit bowl, or other dry storage is fine.


The leaf charms are inspired by mallorn and ivy.

Come see us soon!

Galu!


Friday, January 18, 2013

Dragon Mascot Project pt 1: frames

Back in 1998 I'd planned to make a dragon mascot for my booth, complete with wings and glowing eyes.  One thing derailed another and I never finished it, though I saved the half made head, semi forgotten and only unearthed recently during the Great Storage Move of 2012.  

After Christmas, I set about finishing the frame.  I decided against wings for right now, but added ears, horns, and the rest of the neck.  My original plan had been to cover the frame is black ducktape and maybe plaster or acrylic.  Then paint.  But then I heard of the glories of buckram.

Buckram is a canvas type of material impregnated with starch, traditionally used by hatters.  Wet it, and it can be formed over molds, drying in whatever form.   This sounded perfect, in theory making a 3d canvas I could gesso and paint with acrylic.   In fact, it was learning of this material that made returning to finish the dragon  mascot sound likely to produce and elegant result, with excellent work flow.  Thus inspired the frames almost finished themselves:


Next: Buckram